Update from Windows (@BIOS)
Gigabyte also has a Windows-based BIOS update utility called @BIOS that you can download from the Gigabyte app center. If you can boot to Windows and your installation is stable, this utility can be a user-friendly way to update the BIOS directly from the live Windows environment.
- Download, extract, and install Gigabyte App Center.
- Launch the App Center and click on the LiveUpdate button.
- In the Not Installed tab, select the @BIOS utility and press Install. You can uncheck any updates that you don’t want to install.
- Switch back to the home page and launch the @BIOS utility.
- Switch to the Update from Server tab and select a server location. Then, select the BIOS update to install.
- You can ignore the Face-Wizard screen and just press Next. Then, select OK on the next screen to accept the confirmation prompt and proceed with the update.
- Accept the prompt to save the current BIOS file. This can come in handy if you need to roll back the BIOS.
- Once the backup completes, the BIOS update will start. The update should finish in a minute or two, at which point your PC will reboot.
Update with Q-Flash
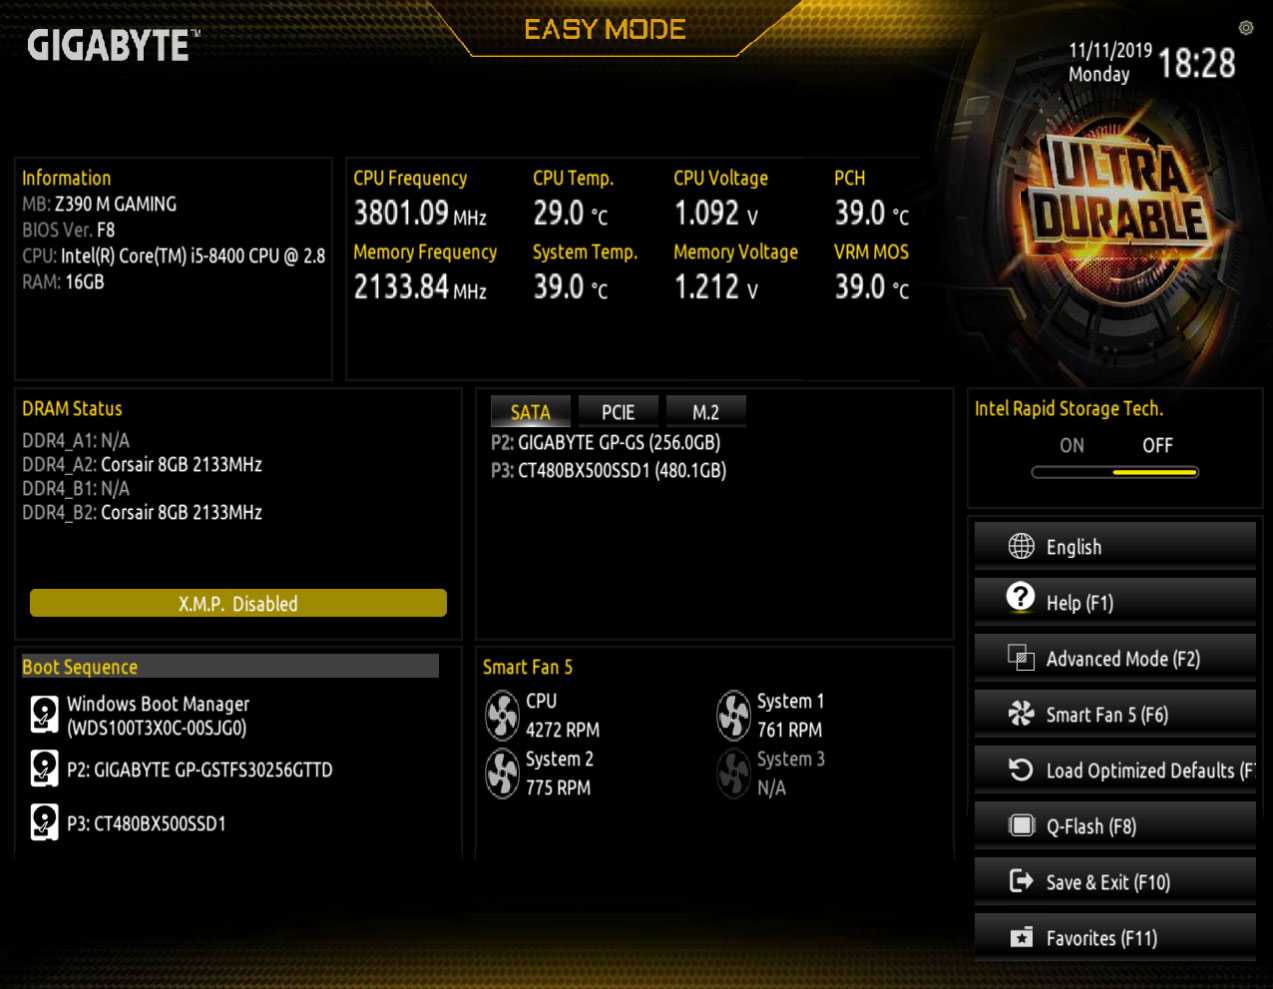
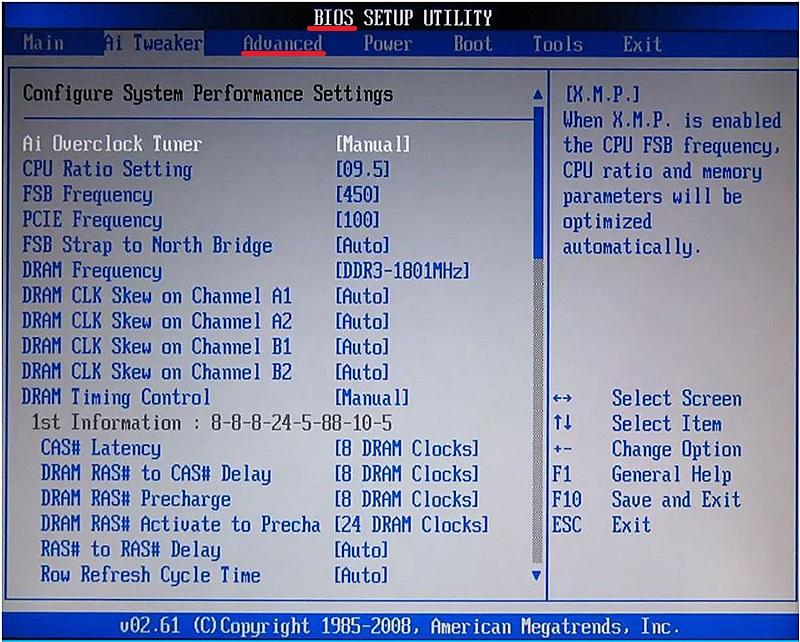
The recommended way to update the BIOS version is from the BIOS/UEFI interface itself. In this case, you can update using Gigabyte’s Q-Flash utility.
- Start by identifying your motherboard revision.
- Power on your PC and repeatedly press F9 to view your System Information. Note the motherboard model and the current BIOS version.
- Search for your motherboard model on the . Once you find the exact model and revision, click on BIOS.
- Compare your BIOS version noted in Step 2 to the versions available here. Make sure to read the descriptions carefully. Some versions require incremental updates, meaning you can’t jump from a very old BIOS version to the latest one at once. Others may require you to install update tools.
- After reading the description and deciding on the version to install, click on Download.
- Right-click the downloaded archive and select Extract all.
- Connect a USB drive to the PC and format it as FAT32.
- Copy the extracted files from Step 6 to the root directory of this drive.
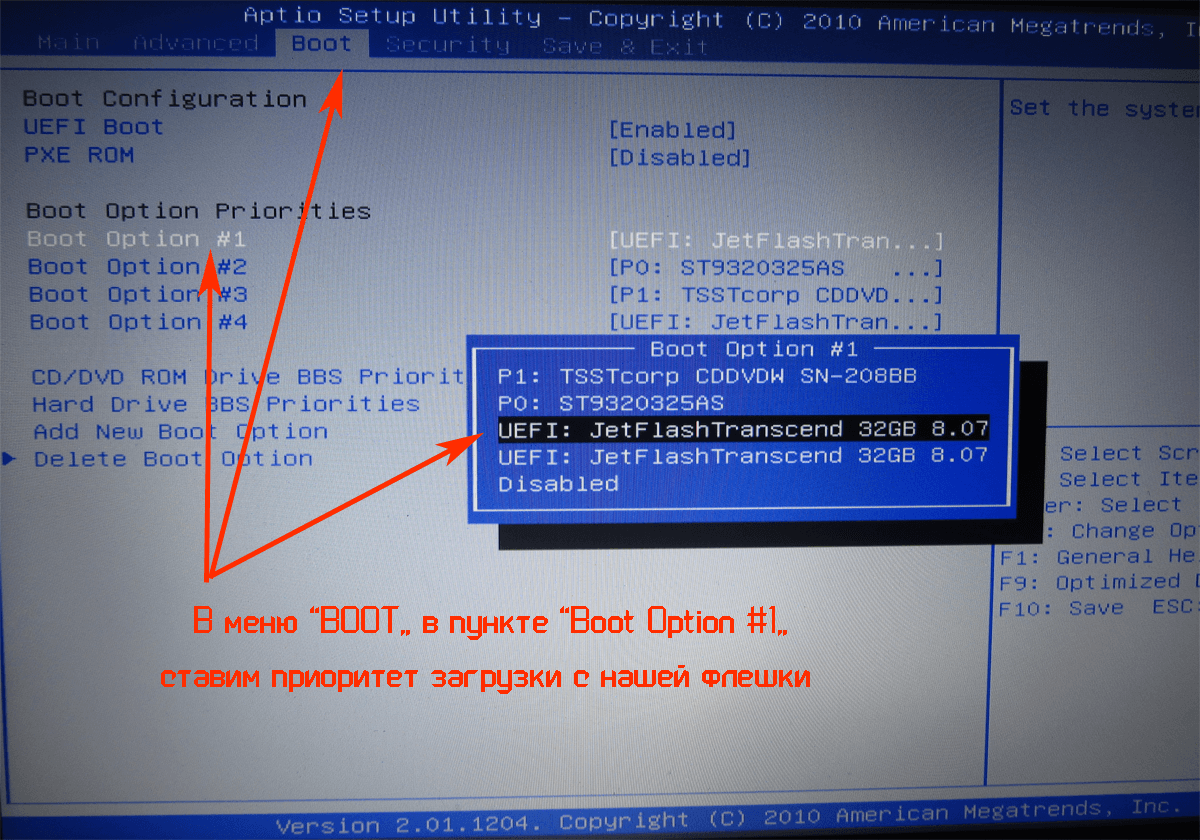
- Restart your PC and press Del/F2 when booting to enter BIOS Setup again.
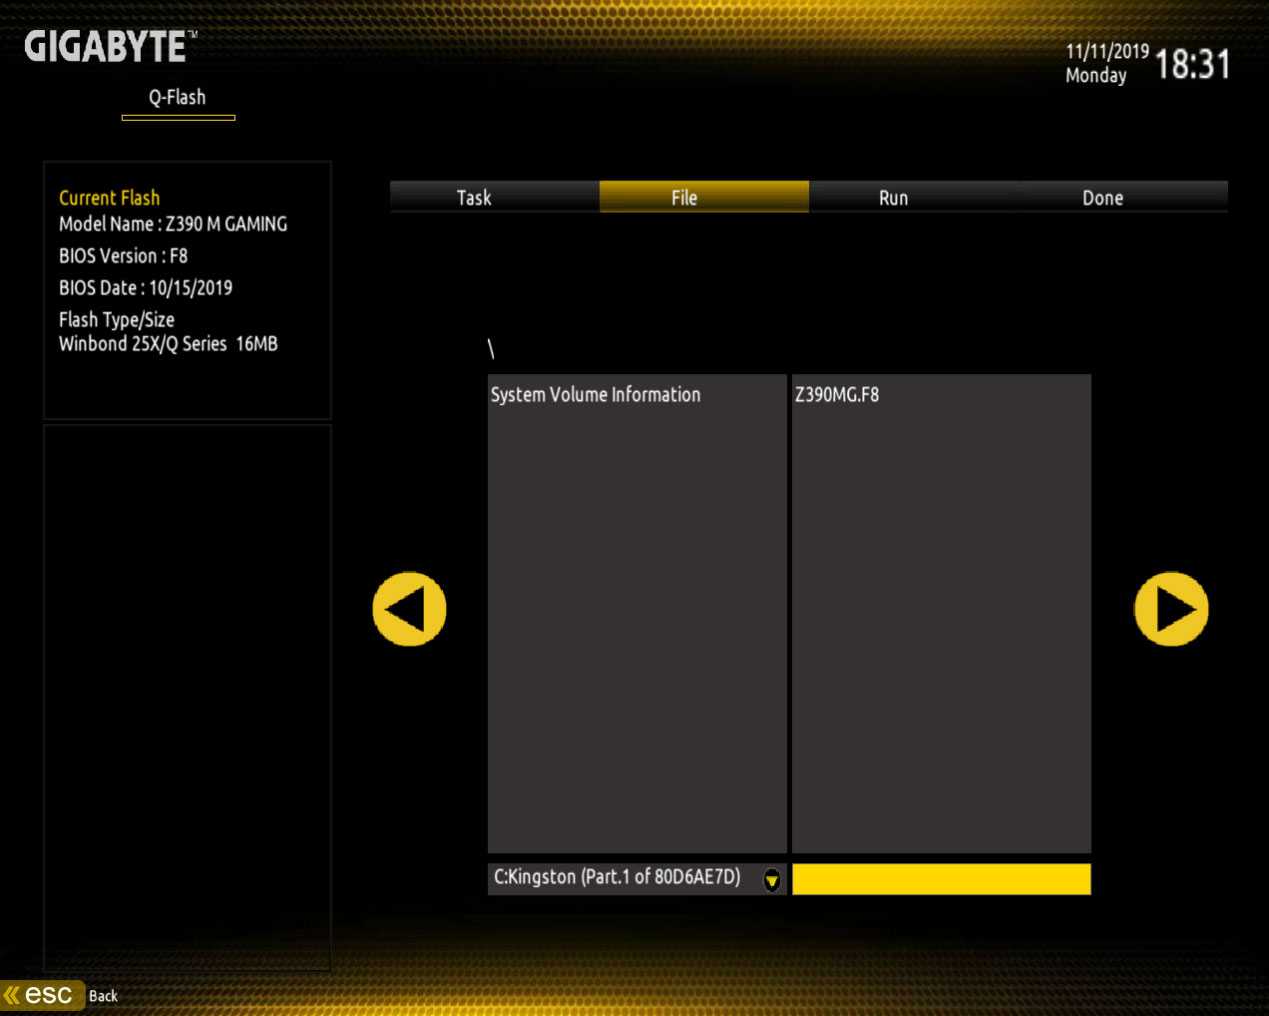
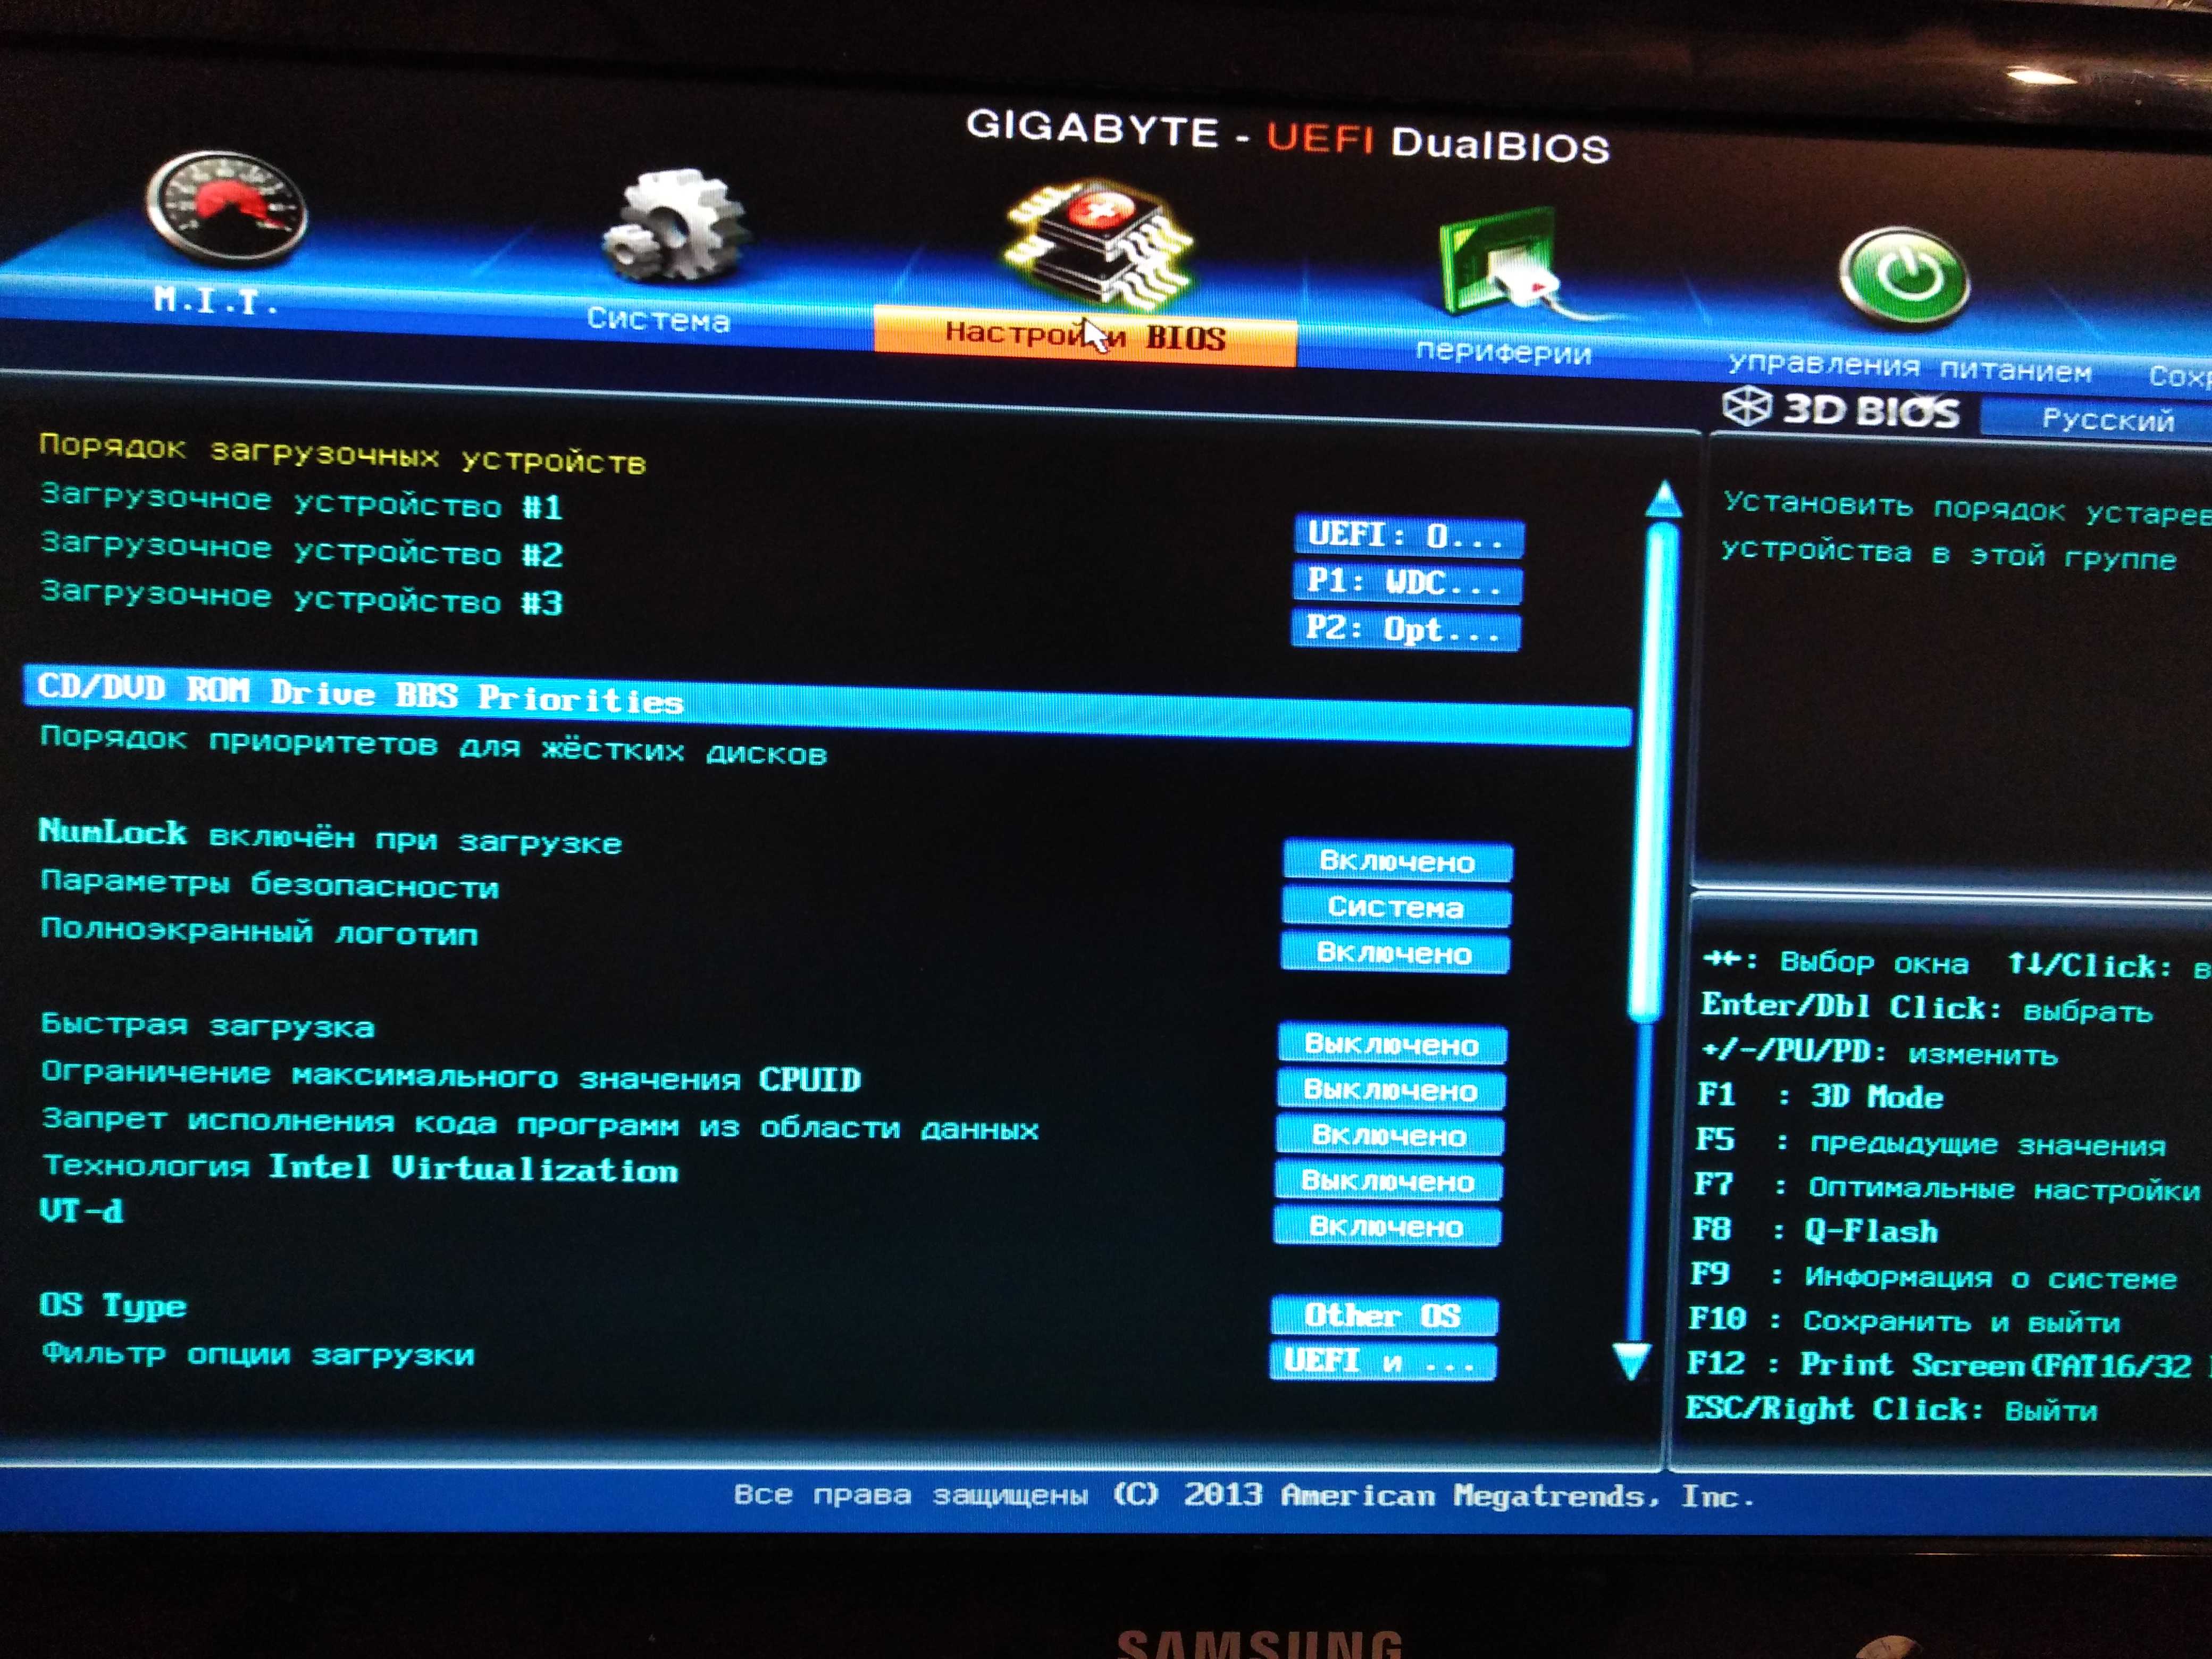
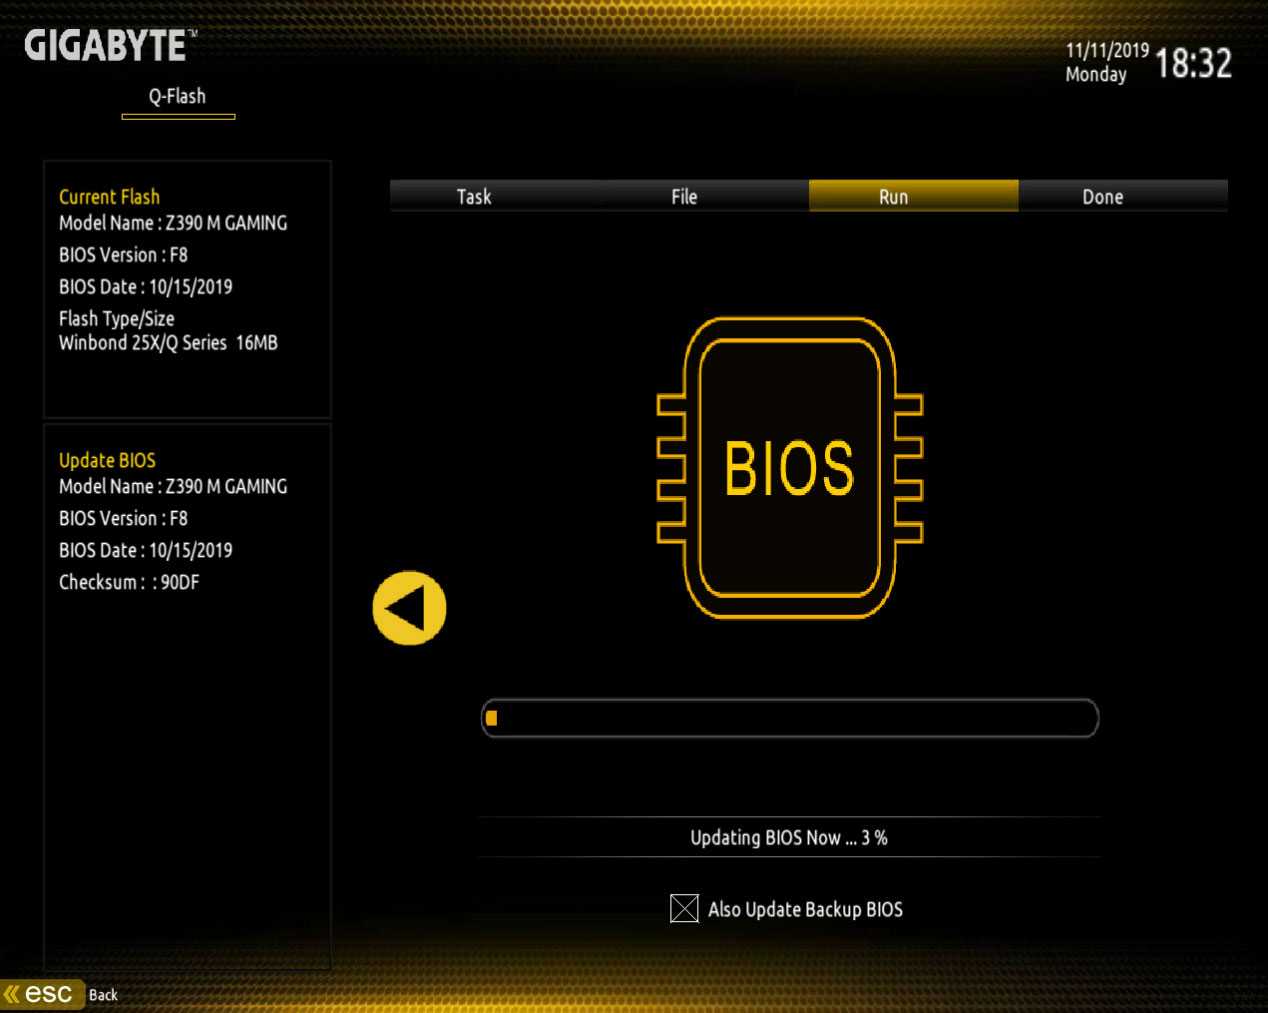
- Press F8 to load Q-Flash and select the Update BIOS option.
- Select the BIOS update to install and click on Yes if prompted to verify the update files.
- Finally, click on the Press to Start button to begin the update. It’ll take a few minutes to complete, and your PC will restart afterward.
BIOS Recovery with Q-Flash Plus
Gigabyte motherboards can have two BIOS onboard through the DualBIOS feature. Even if you flash an incorrect BIOS version or the update gets interrupted, the board will load the backup BIOS and you can continue using your system as usual.
Thanks to this, you can use the steps covered so far to reflash the BIOS properly this time or fix any other problems with the main BIOS. But what if both the main and backup BIOS aren’t working?
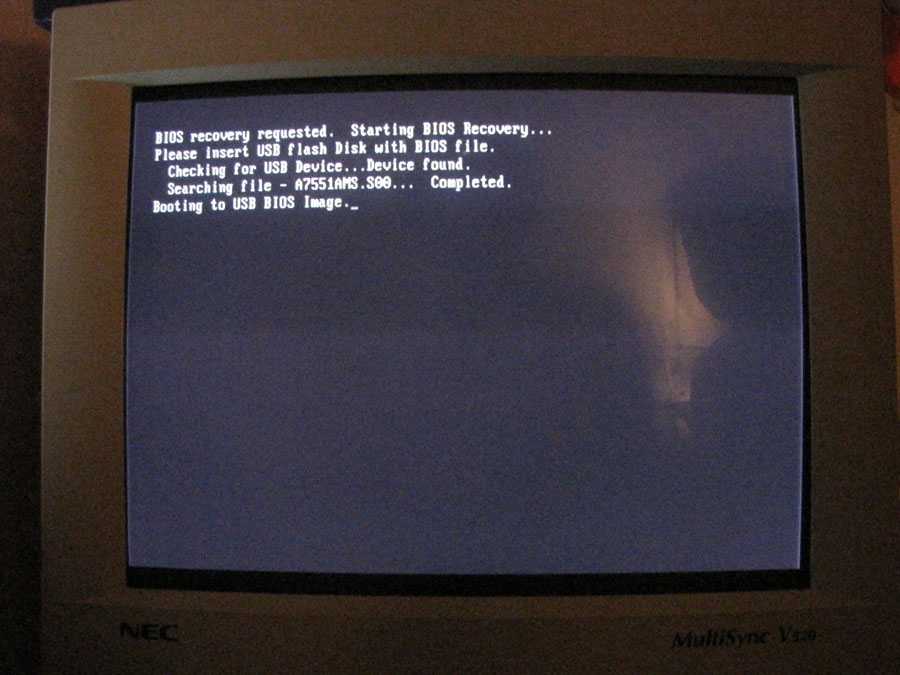
For such situations, higher-end Gigabyte boards have an additional failsafe called Q-Flash Plus. It’s a method for flashing the BIOS when a system cannot boot. Assuming your board supports this, you won’t even need a CPU or RAM.
How can I update Gigabyte BIOS?
1. Use the Gigabyte App Center
- Download the Gigabyte app center.
- Install the App Center on your PC and launch the program.
- Click on the downward arrow in the top-right corner.
- Click on @BIOS.
- Switch to the Update from Server tab.
- Choose the closest server.
- The App Center will automatically detect your motherboard details and provide you with the latest BIOS update.
- Click on the file and select Next.
- Follow the on-screen prompts and install the BIOS update.
Updating the Gigabyte motherboard BIOS using the App Center is probably the easiest way. It simply needs you to perform some clicks and you are all set.

Apart from updating BIOS, you can also use the Gigabyte App Center to update the drivers as well. You can manually update the BIOS using the App Center as well. For that, you need to download the BIOS update file onto a USB drive and then select it within the App Center.
2. Use Gigabyte Q-Flash
2.1 Format the USB drive to FAT32
- Insert the USB flash drive to your PC.
- Press Win + E to open the File Explorer.
- Right-click on your USB drive and click on Format.
- Choose FAT32 from the File system dropdown menu.
- Click on the Start button.
2.2 Download the Gigabyte BIOS update
- Visit the official Gigabyte motherboard support page.
- You can search for the BIOS file based on your processor, chipset, or even your computer’s model name.
- Select BIOS for your computer model.
- Under the BIOS section, download the latest available update.
- Once the download is complete, extract the contents onto your FAT32 formatted USB drive.
2.3 Update the BIOS
- Insert the USB drive containing the Gigabyte BIOS update file into any USB port on your PC.
- Restart your PC and when it is booting up enter the BIOS menu by pressing the Del key.
- Select Q-Flash menu.
- Choose Update BIOS option.
- Locate the BIOS update file and select it.
- Start the BIOS update process.
- Once the BIOS is updated, switch to the Save & Exit tab, and select Load optimized defaults.
This process of the Q-Flash method may look a bit complex, but in reality, it isn’t. All you need to do is follow the steps mentioned above carefully and you will be done with the Gigabyte BIOS update process without any issues.
Make sure that the USB drive onto which you have copied the BIOS update file is in FAT32 format.
3. Use the Q-Flash+ update method
- Copy the BIOS update file downloaded from the Gigabyte official website to the FAT32 formatted USB drive.
- Insert the USB drive into the white USB port on your motherboard.
- Turn on the motherboard.
- The LED light next to the USB will flicker indicating the BIOS update is in progress.
- Once the update is complete, the LED will stop blinking.
- Start your PC and wait for the BIOS update process to complete.
This is another one of the Gigabyte exclusive ways of updating the BIOS. However, there are some other manufacturers that offer the same process of updating the BIOS. You should check with your manufacturer about that.
That is it from us in this guide. You can check out our guide that gives you a proper explanation of what is BIOS and everything that you need to know about BIOS.
We have also listed 3 different ways to access the BIOS menu on your computer that will be beneficial to update the BIOS. In case you come across any issues, you can read our guide to fixing the BIOS corruption issue on a Windows PC.

Feel free to let us know in the comments below, which one of the above methods you used to update the Gigabyte BIOS.
Was this page helpful?
MyWOT
Trustpilot
Thank you!
Not enough details
Hard to understand
Other
x
Contact an Expert
Start a conversation
Do You Actually Need To Update
The standard approach to BIOS updates is – If it ain’t broke, don’t fix it. If your system is running fine, it’s best not to risk the potential problems you may have when updating, or after the update.
However, as mentioned earlier, there are scenarios where updating is necessary:
- Security vulnerability has gotten patched in a new update
- Update improves hardware compatibility or general performance
- Update introduces new features
- Currently unable to boot due to BIOS-related issues
Assuming you have valid reasons to update, here are some important dos and don’ts:
- Ensure the BIOS update completes without interruption. Gigabyte has DualBIOS as a failsafe in case of failed updates, so you likely won’t need to worry about bricking your motherboard. But it’s best to use a power backup like a UPS nonetheless.
- Use the official source to download files and official methods to update the BIOS as we’ve done here. Third-party sources and methods are not recommended.
- To stay on the safe side, you could also verify file integrity by comparing the checksum of the downloaded BIOS file to that provided on the Gigabyte downloads page.